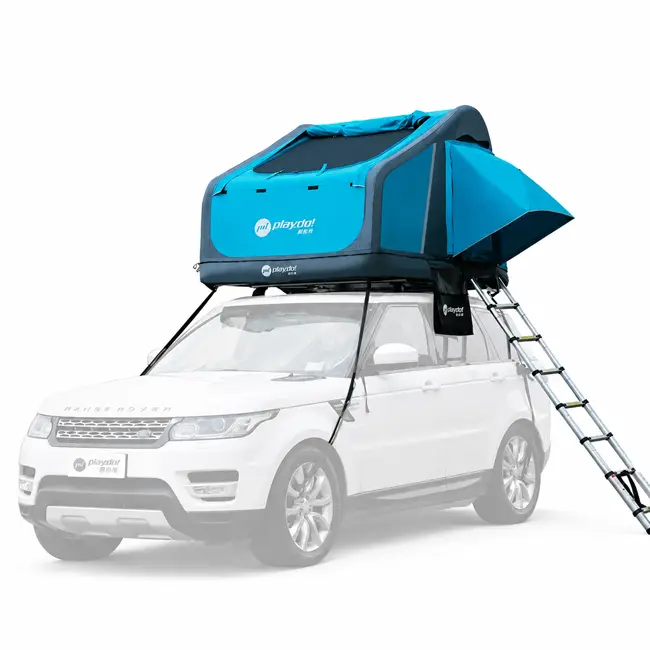


Inflatable rooftop tent repair sounds scary until you do it once. The beams are simple, the fabric is forgiving, and most failures in the field are small and quick to fix. A tiny kit and a little calm turn a panic into a story by the fire.
Start inflatable rooftop tent repair by finding the leak
An inflatable rooftop tent repair starts with listening. Pump it up, then run a wet hand or soapy water along the seams; bubbles point to the hole. Most leaks hide at the valve or a fold crease, not in the open panel. Mark the spot with tape, dry it, and you are halfway done before you open the glue.
Patch a pinhole in the field
Roughen the area with the supplied pad, wipe it clean, and lay the patch with firm, even pressure. Hold for the time the kit says, usually a minute, and keep the beam flat while it sets. A correct patch outlasts the trip and often the season. Carry two patches per beam and you will never be caught short on a long run.

Free a stuck zipper
Zippers jam on sand and grit, not because they break. Ease the pull back, clear the teeth with a brush, and rub a candle or lip balm along the track. Never yank; a torn zip is a harder fix than a slow one. A little field care keeps the inflatable rooftop tent repair list short and the door closing tight.
Pump and pressure problems
If the beam will not hold, check the valve first; a loose cap leaks faster than a hole. A hand pump backs up a dead electric one, so pack both on remote trips. Re-pump after the first cold night, because air shrinks as it cools and a soft beam is normal, not a failure.

Prevent the next inflatable rooftop tent repair
Most fixes are avoidable. Dry and deflate the tent before it is packed away wet, store it loose rather than folded on the same crease, and keep sand out of the zips with a quick brush at teardown. A five-minute habit at the end of a trip is the cheapest inflatable rooftop tent repair there is.
When to call it a field fix
A pinhole is a ten-minute patch; a long tear along a seam is a shop job. Know the line before you leave so you do not gamble a night on a fix that will not hold. Carry a roll of repair tape as a stopgap and a spare valve insert, because those two items close most field failures. The point of inflatable rooftop tent repair is to keep the trip alive, not to prove you can rebuild the beam by headlamp. If a beam will not hold pressure after a proper patch, shift that corner’s load and sleep low rather than risk a collapse; a calm workaround beats a brave failure. Tag the spot and hit a service center on the way home, since a marked repair is easier for them to finish than a mystery leak.
FAQ: inflatable rooftop tent repair
How do I find a slow leak? Soapy water on the seams shows bubbles at the hole.
Can I patch in the field? Yes, with the kit’s glue and patch; hold firm pressure while it sets.
What if the pump dies? A hand pump as backup gets the beams up and keeps the trip alive.
Should I fix a torn zipper myself? Clear the grit and lubricate first; only replace if the teeth are damaged.
Keep a kit in every tent from our [inflatable rooftop tent collection](https://www.playdooutdoor.com/product-category/rooftop-tent/) and reach [our team](https://www.playdooutdoor.com/contact/) for parts.